


A beginner's guide to safe home canning.
Home canning can seem complicated when you first start.

Water-bath canning. Pressure canning. Acidity. Headspace. Processing times. Altitude adjustments. Seals.
It sounds like a lot.
But once you understand why these things matter, home canning becomes much easier to navigate. You don't need to memorize hundreds of rules. You need to understand a handful of basic principles and know where to find a reliable recipe.
This guide covers the fundamentals every new home canner should understand before filling that first jar.
The two main types of home canning
The first thing to understand is that not all foods can be canned using the same method.
For most home canning, you'll use one of two methods:
Water-bath canning uses boiling water to process jars.
Pressure canning uses a specialized pressure canner that allows temperatures inside the canner to rise significantly above the boiling point of water.
Which method you use depends primarily on one thing:
Acidity.
Why acid matters
This is probably the single most important concept in home canning.
Foods are generally divided into high-acid and low-acid foods, with a pH of 4.6 being the critical dividing line.
High-acid foods have a pH of 4.6 or below. The acidic environment prevents Clostridium botulinum — the bacterium responsible for botulism — from growing and producing toxin.
That means these foods can generally be safely processed at boiling-water temperatures when following an appropriate tested recipe.
Examples include many:
Fruits
Pickles
Relishes
Fruit preserves
Low-acid foods have a pH above 4.6.
This category includes foods such as:
Beans and lentils
Soups
These foods require pressure canning.
Why?
Because C. botulinum spores can survive ordinary boiling temperatures. A pressure canner allows the food to reach approximately 116–121°C (240–250°F), depending on the pressure and altitude used.
This higher temperature is necessary to safely process low-acid foods.
What about tomatoes?
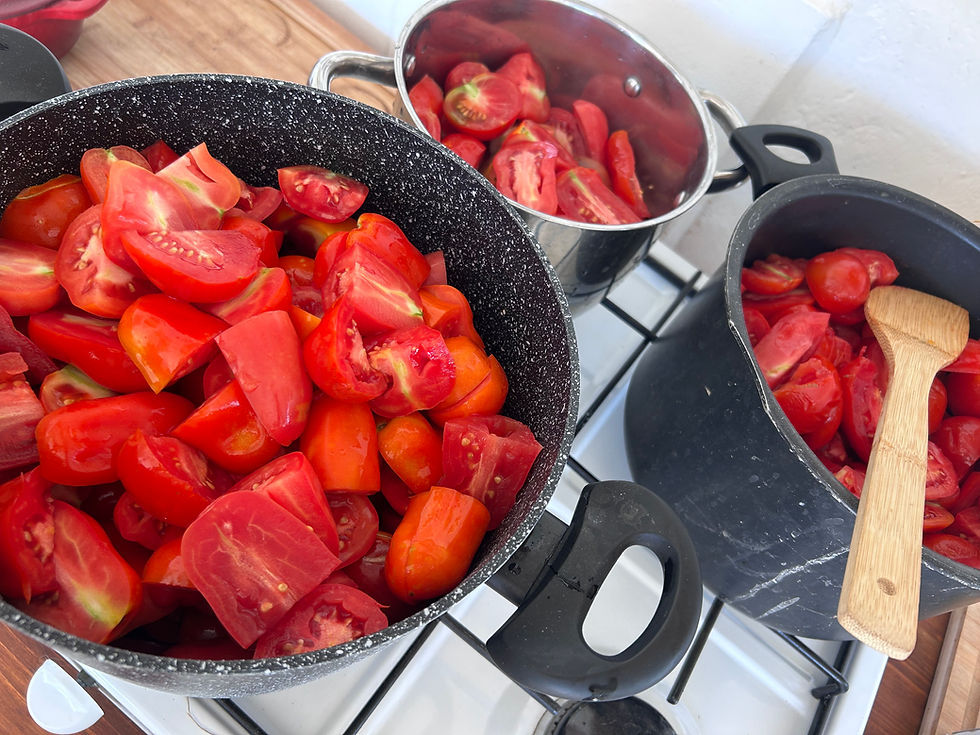
Tomatoes deserve a special mention because they're often assumed to be acidic enough for water-bath canning.
Modern canning recommendations generally require tomatoes to be acidified with bottled lemon juice or citric acid when canned using tested tomato-canning procedures.
Don't assume that home-grown tomatoes are automatically acidic enough. Follow the acidification instructions in the recipe you're using.
Water-bath canning

A boiling-water canner is essentially a large pot with a rack that allows jars to be completely surrounded by boiling water.
During processing, jars are submerged under the water and boiled for the time specified in the recipe.
Water-bath canning is suitable for appropriately acidic foods.
It's often where beginners start because the equipment is relatively simple.
You'll need:
Canning jars
New canning lids
Screw bands
A large pot or water-bath canner
A jar rack
Jar lifter
Funnel
A reliable tested recipe
But remember:
Boiling something for longer does not turn water-bath canning into pressure canning.
A jar of green beans, for example, cannot simply be boiled for several hours instead of pressure canned.
The two processes are designed for different types of food.
Pressure canning

Pressure canning is used for low-acid foods.
A pressure canner traps steam inside a sealed vessel. As pressure increases, so does the temperature.
This allows the contents of the jars to reach temperatures that cannot be achieved in an ordinary pot of boiling water.
Pressure canning is used for foods such as vegetables, beans, meat, poultry, stocks and many soups.
And an important distinction:
A pressure cooker is not automatically a pressure canner.
Use equipment designed and recommended for home pressure canning and follow the manufacturer's instructions.
Pressure canning can feel intimidating the first time you try it, but the process itself is quite methodical.
Prepare the food according to the recipe, fill the jars, load the canner, vent it as instructed, bring it to the required pressure, process for the specified time, and allow the canner to depressurize naturally.
Don't rush the cooling process.
Headspace: that empty space isn't accidental
When filling a jar, recipes tell you to leave a certain amount of space between the food or liquid and the top of the jar.
That's called headspace.
It might be ¼ inch, ½ inch, 1 inch or another measurement depending on the product and recipe.
Headspace allows food to expand during processing and helps create the vacuum necessary for the jar to seal as it cools.
Too little headspace can cause food or liquid to escape from the jar during processing.
Too much headspace can interfere with proper air removal and sealing.
So when a recipe specifies headspace, measure it. Don't simply fill the jar "about right."
Altitude changes canning
Altitude is one of those details that's easy to overlook when you're new to canning.
But it matters.
As altitude increases, atmospheric pressure decreases and water boils at a lower temperature.
That means canning instructions have to compensate.
For water-bath canning, this generally means increasing the processing time as altitude increases.
For pressure canning, it generally means increasing the pressure used.
The exact adjustment depends on your altitude, equipment and recipe.
Before beginning a recipe, know your approximate elevation above sea level and check the appropriate altitude adjustment.
This is especially important if you live in the mountains or at a significantly higher elevation than the recipe's baseline.
Why tested recipes matter
Once you get comfortable with canning, it's tempting to start improvising.
A little more onion.
Some extra peppers.
A thicker sauce.
Less vinegar because you don't like it quite so sharp.
In ordinary cooking, that's creativity.
In canning, those changes can affect how heat moves through the jar or alter the acidity of the finished product.
Canning processing times aren't simply estimates of how long it takes to cook the food. They're designed to deliver a specific heat treatment to the coldest part of the jar.
Changing ingredients, density, jar size or preparation method can change that process.
That's why beginners should start with recipes from reliable sources such as the USDA Complete Guide to Home Canning, the National Center for Home Food Preservation, university extension services and established canning references such as Ball or Bernardin.
Once you understand the principles, you'll also become much better at recognizing which changes are harmless and which ones may affect safety.
When to start the processing timer
Another common beginner mistake is starting the timer too early.
With water-bath canning, processing time begins when the water has returned to the required full boil after the filled jars have been added.
With pressure canning, the canner must first be properly vented according to its instructions. You then bring it to the required pressure.
The processing timer begins only once the correct pressure has been reached.
If the pressure falls below the required level during processing, follow the guidance for your canner and recipe. Typically, this means bringing the canner back to the correct pressure and restarting the full processing time.
Checking the seal
One of my favourite parts of canning happens after the jars come out of the canner.
Ping..... or maybe plop?
As the jars cool, the contents contract and create a vacuum that pulls the lid down.
It's a very satisfying sound, but a ping alone doesn't mean you should immediately start pressing the lids.
Place the jars somewhere they won't be disturbed and allow them to cool for 12–24 hours.
Then remove the screw bands and check the seals.
A properly sealed lid should be firmly attached and should not flex up and down when pressed in the centre.
If a jar hasn't sealed, don't simply put the band back on and place it in the pantry.
Instead, refrigerate it and use it promptly, freeze the contents if appropriate, or reprocess it according to safe reprocessing guidance.
Why I remove the rings before storage

Once your jars have cooled and you've confirmed the seals, remove the screw bands before long-term storage.
Wash the jars if necessary, label them and store them somewhere cool, dry and dark.
Leaving the rings tightly attached can conceal a failed seal. A lid that loses its vacuum during storage may appear to be held in place simply because the band is still screwed onto the jar.
Removing the rings makes seal failures much easier to notice.
It also means you can reuse those rings for your next batch rather than having hundreds of them sitting in the pantry.
Before opening a jar
Always inspect a home-canned jar before eating its contents.
Look for:
A broken or loose seal
Leakage
A bulging lid
Unusual bubbling
Spurting liquid when opened
Mould
Strange colours or odours
If something looks wrong, don't taste it to find out whether it's safe.
Botulinum toxin cannot reliably be detected by sight, smell or taste.
When in doubt, discard the food following appropriate food-safety guidance.
The basic rules worth remembering
If you remember nothing else from this post, remember these:
High-acid foods can be suitable for water-bath canning. Low-acid foods require pressure canning.
pH 4.6 is the critical dividing line.
Use tested recipes, especially while you're learning.
Don't change jar size, processing time, acidity or the proportions of low-acid ingredients unless reliable guidance says the change is safe.
Make the correct altitude adjustment.
Measure your headspace.
Allow pressure canners to depressurize naturally.
Check every seal before storing your jars.
And finally:
Never taste food from a suspicious jar to determine whether it's safe.
Canning doesn't have to be intimidating
When I first looked into home canning, the amount of information made it seem far more complicated than it actually is.
But the basic logic is surprisingly straightforward.
Acidic foods can be processed at boiling-water temperatures.
Low-acid foods need the higher temperatures achieved through pressure canning.
Headspace allows jars to vent and seal properly.
Altitude changes the temperature at which water boils, so processing needs to be adjusted.
And tested recipes give us a process that has already been evaluated rather than requiring us to guess.
Once those principles click, recipes start making much more sense.
You stop seeing a long list of arbitrary instructions and start understanding why each step is there.
And that's when home canning becomes a lot less intimidating and a lot more enjoyable.
Happy canning!


Comments