


Canning "refried beans": A guide to convenience and flavor
Updated: 8 hours ago

If you love the creamy, savory taste of refried beans but dread the hassle of cooking them every time, home canning is your new best friend. With a batch of perfectly canned beans, you’ll have a versatile, ready-to-use pantry staple for quick meals, snacks, or side dishes. In this blog post, I will guide you through safely canning beans for refried beans, ensuring flavor, texture, and long-term storage. The beans are canned whole, and "refried" when a can is opened.
Why can refried beans?
Well, to be fair, they will not be refried, until you, well.... fry them ;) We are canning the beans and then turning them into "re-fried" when we get them out of the jars. They are a beloved staple in many cuisines, particularly Mexican and Tex-Mex. Canning your own beans for refried beans has several benefits:
Convenience: Open a jar, mash, and fry, and you’ve got refried beans in minutes!
Customizable flavor: Adjust seasonings to your preference.
Cost-effective: Save money by buying beans in bulk.
Eco-friendly: Reduce packaging waste by reusing jars.
Supplies you’ll need
Pressure canner: Necessary for safely canning low-acid foods like beans.
Canning jars: Pint or quart jars with lids and rings.
Cooking utensils: Large pot, ladle, and spatula (plus a potato masher for after you open the jar).
Ingredients:
Dried pinto or black beans
Onion and garlic (optional, added when you make the refried beans)
Salt
Spices (cumin, chili powder, paprika, etc.)
Step-by-step guide
1. Prepare the beans
Sort and rinse: Sort through dried beans to remove any debris. Rinse thoroughly.
Soak: Soak beans for 12–18 hours in a cool place (about 3 cups of water per cup of beans), or use the quick-soak method (boil for 2 minutes, then let them sit for 1 hour). Not sure which to pick? I compare both in my overnight soak vs quick soak post ;)
Cook: Drain and rinse soaked beans. Place them in a large pot, cover with fresh water, and cook together with the spices for 30 min.

2. Prepare for canning
Wash jars, lids, and rings in hot, soapy water. Keep jars warm until ready to fill.
Fill jars: Spoon hot beans and cooking water into jars, leaving 1-inch headspace. Remove air bubbles and wipe jar rims clean.
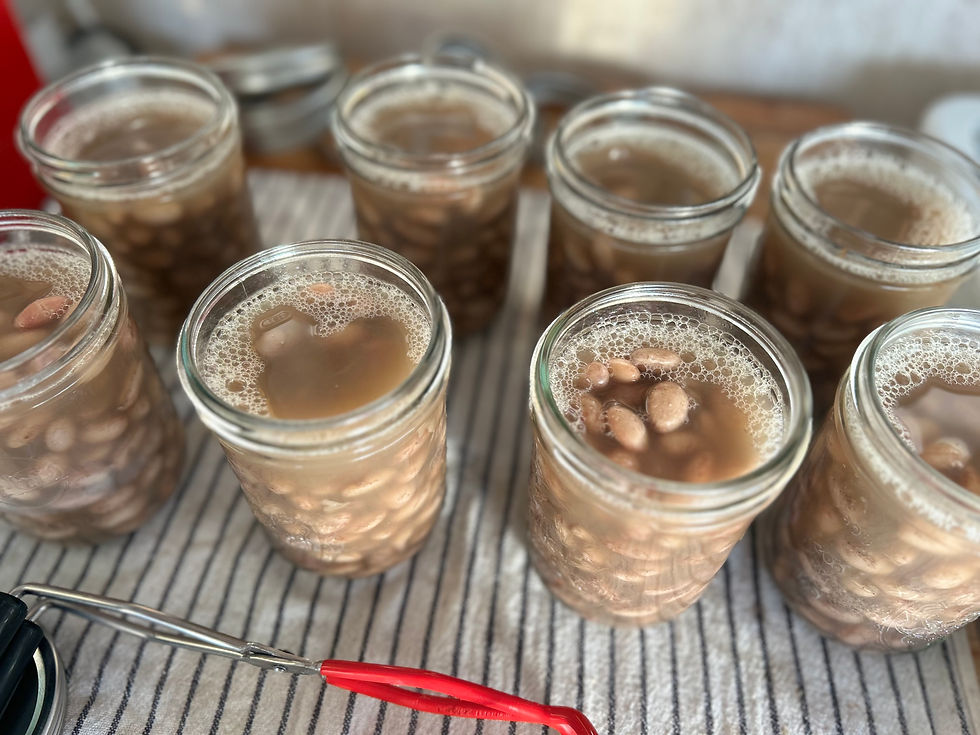
Beans and jars ready for the canner
3. Process the jars
Pressure canning: Place jars in your pressure canner. Process pint jars for 75 minutes and quart jars for 90 minutes at the right pressure for your altitude and canner type (see my altitude chart). I'm at 2,273 feet, so I use 15 lb on my weighted gauge. Don't forget to let your canner vent for 10 min before starting your timer.
Cool: Let the canner cool down naturally until the pressure reads zero. Then remove the weight, wait 10 minutes, and open the lid away from your face (that steam is no joke!). Remove jars and let them cool on a towel-lined surface. Check seals after 24 hours.

Venting canner
Storage and usage tips
Storage: Store sealed jars in a cool, dark place for up to one year.
Usage: Mash and fry them into refried beans (recipe below!), or use them whole in burritos, nachos, dips, or side dishes.
They're also great alongside a jar of my canned Texas chili.
4. Make the refried beans (after opening)
Mash or blend: Drain the beans, reserving some of the cooking liquid. Mash beans with a potato masher or blend for a smoother texture, adding cooking liquid as needed.
Season: Add salt, spices, minced onion, and garlic to taste. Adjust consistency by adding more liquid if necessary. When done, sprinkle some cheese on top and enjoy this gooey goodness!
Canning beans for refried beans is a fantastic way to enjoy homemade, wholesome food on the go. By dedicating a day to this project, you’ll save time and effort later—and you’ll always have a delicious, versatile ingredient at your fingertips. So grab your pressure canner and give it a try. Your future meals will thank you!
A quick note: beans should be canned whole and mashed after opening. More in my beginner's guide to safe home canning.


Comments